Setting up SSO with Active Directory
This guide will explain, how you can configure Penneo and your Azure Active Directory to allow employees to login directly to Penneo, without having to be invited first.
1. Connecting your Active Directory to your Penneo account
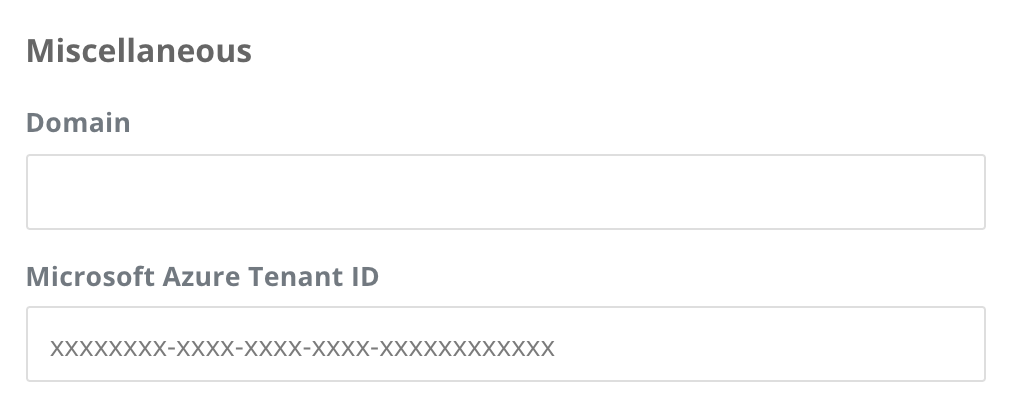
Penneo needs to know about your Active Directory to be able to log your users into the correct Penneo account. Every Active Directory in Azure is identified by a unique string referred to as a Tenant ID. The Tenant ID is a hex number with the format xxxxxxxx-xxxx-xxxx-xxxx-xxxxxxxxxxxx. It can be found in Azure Active Directory -> Properties -> Directory ID
You can input your Tenant ID in the company settings in the "Miscellaneous" section as shown below:

2. Installing the Penneo enterprise application in Azure AD
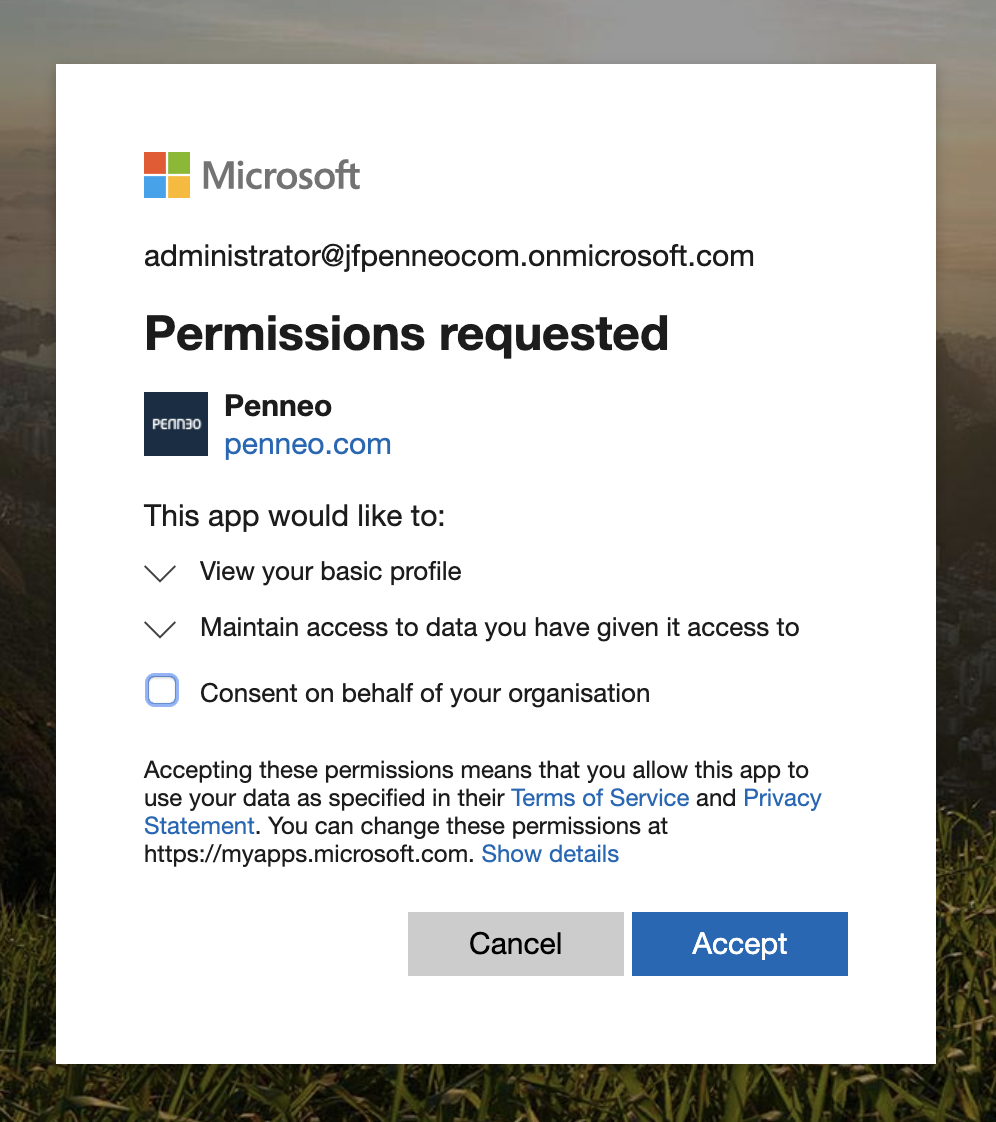
To install the Penneo app in your Active Directory, you simply need your AD administrator to log in to Penneo to be able to manage consent on behalf of your organisation. You AD administrator needs to check the checkbox "Consent on behalf of your organisation" and then click Accept.

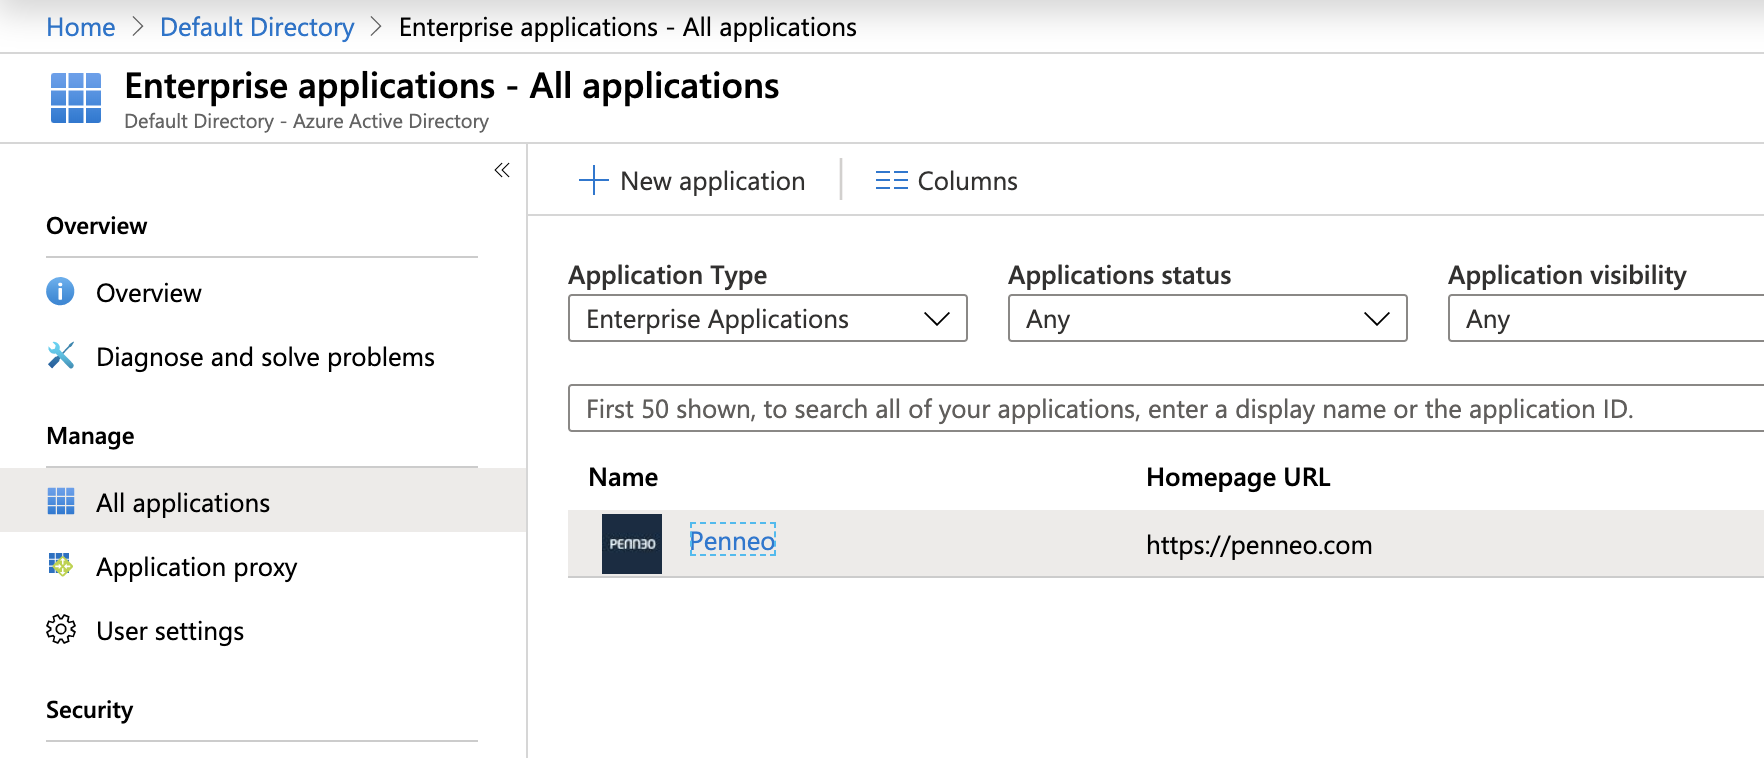
After this has been done, the Penneo enterprise app will show up in your AD like this:

3. Give access to users and groups
Now that you have added the Penneo enterprise application to your Active Directory, you are able to give access to some users. Microsoft have a very good article describing how to do this. It can be found here: https://docs.microsoft.com/en-us/azure/active-directory/manage-apps/methods-for-assigning-users-and-groups
Updated 4 months ago
